The easy way to create powerful booking forms for WordPress websites.
The "QRCode Image - Barcode" add-on allows to generate QRCode images with the Appointment Hour Booking plugin. These QRCodes can be customized to contain specific information about the booking or to change the status of the booking when scanned.
A common use is to setup the QRCode add-on to change the status of the booking when scanned. This is useful for example for marking a booking with status "attended" once the person that make the booking arrives to the appointment or uses the booked service. Other common cases of use is to put some of the booking info into the QRCode image to be scanned from third party applications.
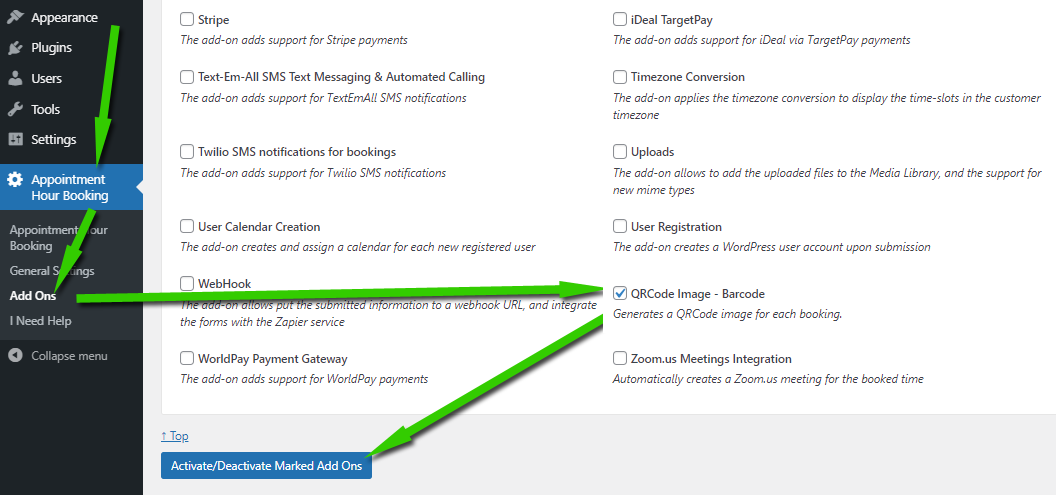
The first step to use this add-on is to enable it in the "Add-ons" menu as displayed in the following image:
Once enabled, go to the form settings and into the step 6 you can activate it for a specific form as displayed in the following image:

The settings field are the following:
Enable QRCodes for this calendar: Enable the QRCode image generation for the booking form being edited. Once enabled the QRCodes will be sent attached to the notification emails. The tag %qrcode% can be added to the emails to include a link to the QRCode image.
QRCode size in pixels: The size of the QRCode image in pixels.
Will the QRCode point to a link to mark the booking as attended?: Select if the QRCode will mark the booking as attended once scanned. To change the booking status to "attended" For security reasons, the user scanning the QRCode must be logged in the website with enough permissions to change the booking status, this way we prevent accidental scans and authenticate the rights of the user to change the booking status.
QRCode contents: Option to customize the information into the QRCode. The default value %itemnumber% is the booking ID but you customize it with any combination of text and tags to get info form the booking form. The tags supported by this field are most of the tags also available for the email customization.
In the case you want to display the QRCode image directly into the "thank you / confirmation" page then go to the "thank you page" settings field and use an URL like the following: https://your-website-domain/thank-you/?qrcode=%qrcode%
... and into the "thank you page" add the following shortcode: [CP_APP_HOUR_BOOKING_LIST_PARAM param="qrcode" type="image"] . The result will be the QRCode directly displayed in the "thank you" page.
Feedback about these features will be welcome, feel free to open a support ticket for any question.